


Open the Network Control Panel
First, open the System Preferences by going to the Apple menu and choosing “System Preferences”. Or choose “System Preferences” from the Dock.
Next, click on the ‘Network’ system preference.
Make a new connection
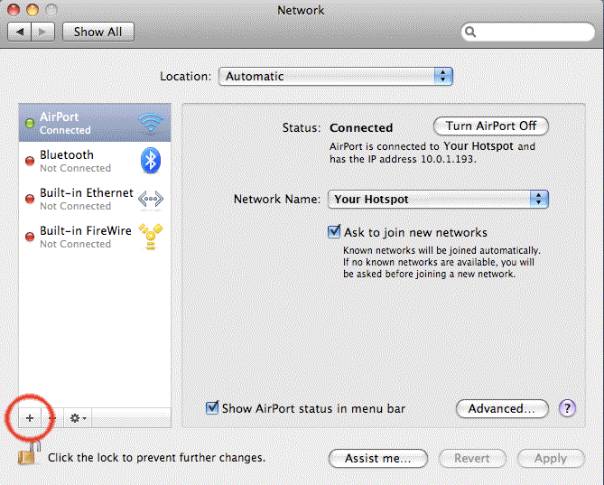
In the ‘Network’ system preference there is a list of network connections on the left side. Click the ‘+’ icon (hilighted in red) to make a new connection for the VPN.
Set the Interface to ‘VPN’ and set the Connection Type and Name
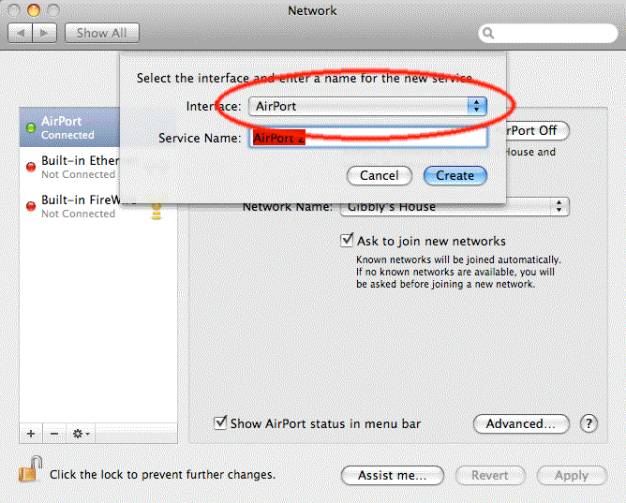
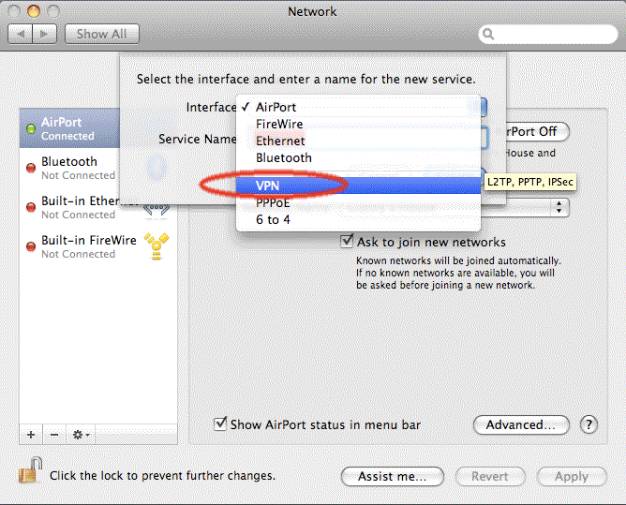
When you click the ‘+’ icon, a new service sheet appears. Click on the ‘Interface’ popup menu to see the list of choices.
In the list, select ‘VPN’.
The ‘VPN Type’ should automatically be set to ‘L2TP over IPSec’, as seen in the picture below.
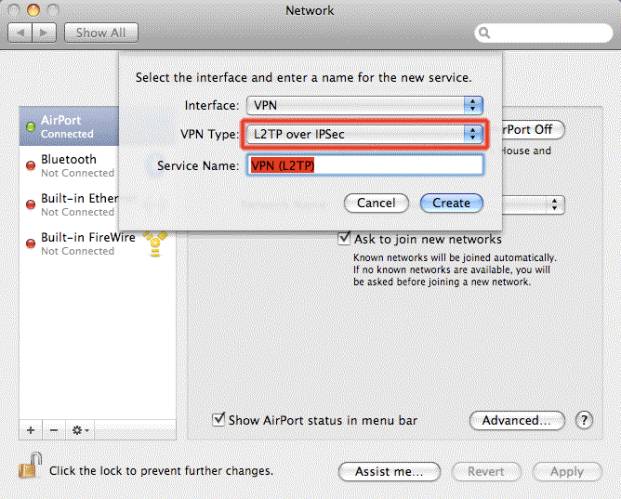
Next, set the Service Name to “VPNVIP” and click “Create”:
User Name, Password & Other Configurations
Now that you have a VPN connection, you’ll need to configure for it:
In “Server Address”, enter our server host name: vpn.vpnvip.com or us.vpnvip.com or cn.vpnvip.com or uk.vpnvip.com;
In “Account Name”, enter your vpn account name (your registered email);
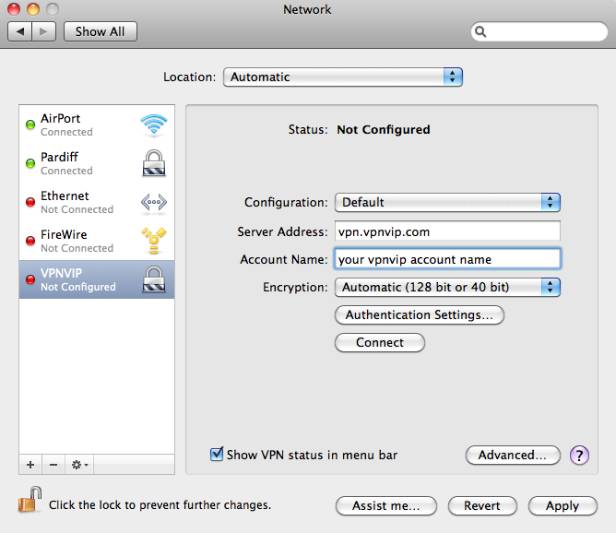
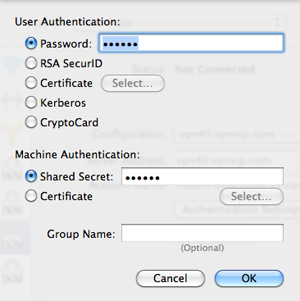
Then, click on the ‘Authentication Settings…’ button. A new sheet drops down.
Advanced VPN settings
Next, we’ll need to adjust some of the advanced VPN settings. To do that, first click the ‘Advanced…” button.
For the VPN to work effectively, the “Send all traffic over VPN connection” checkbox should be checked.
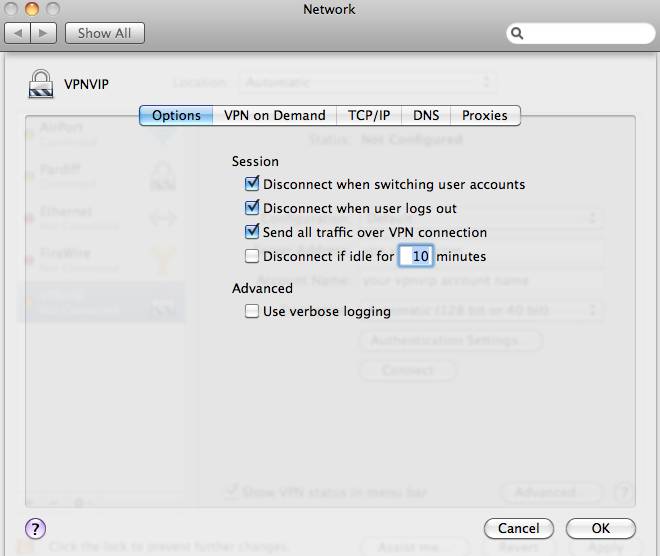
Then click “OK” to finish advanced settings.
Apply the settings
To actually save the configuration, click the ‘Apply’ button in the bottom right of the window.
Connect to VPN
It’s done! Now you can use “connect” button in “VPNVIP” configuration window to enjoy your secure web access!
